By happenstance I came across a guy who restores vintage trailers in Tahlequah, OK. I called him Wednesday and he was on his way to Tulsa to deliver a trailer and he said he would stop by and look at Rosie and quote me on doing her electrical. He said he could do it for $200 plus supplies and I sent Rosie off with him, It was sad not seeing her in my driveway but I was so excited about getting this done....the electrical has kept me from moving forward and I was really fearful about doing it myself. I am so excited to have it all done. Thanks Tom the Trailer Dude!!
Instead of a breaker box he used an inlet into two outlets with trip buttons. So if there is an issue with pulling too many amps then these outlets will trip like the kind in a bathroom.
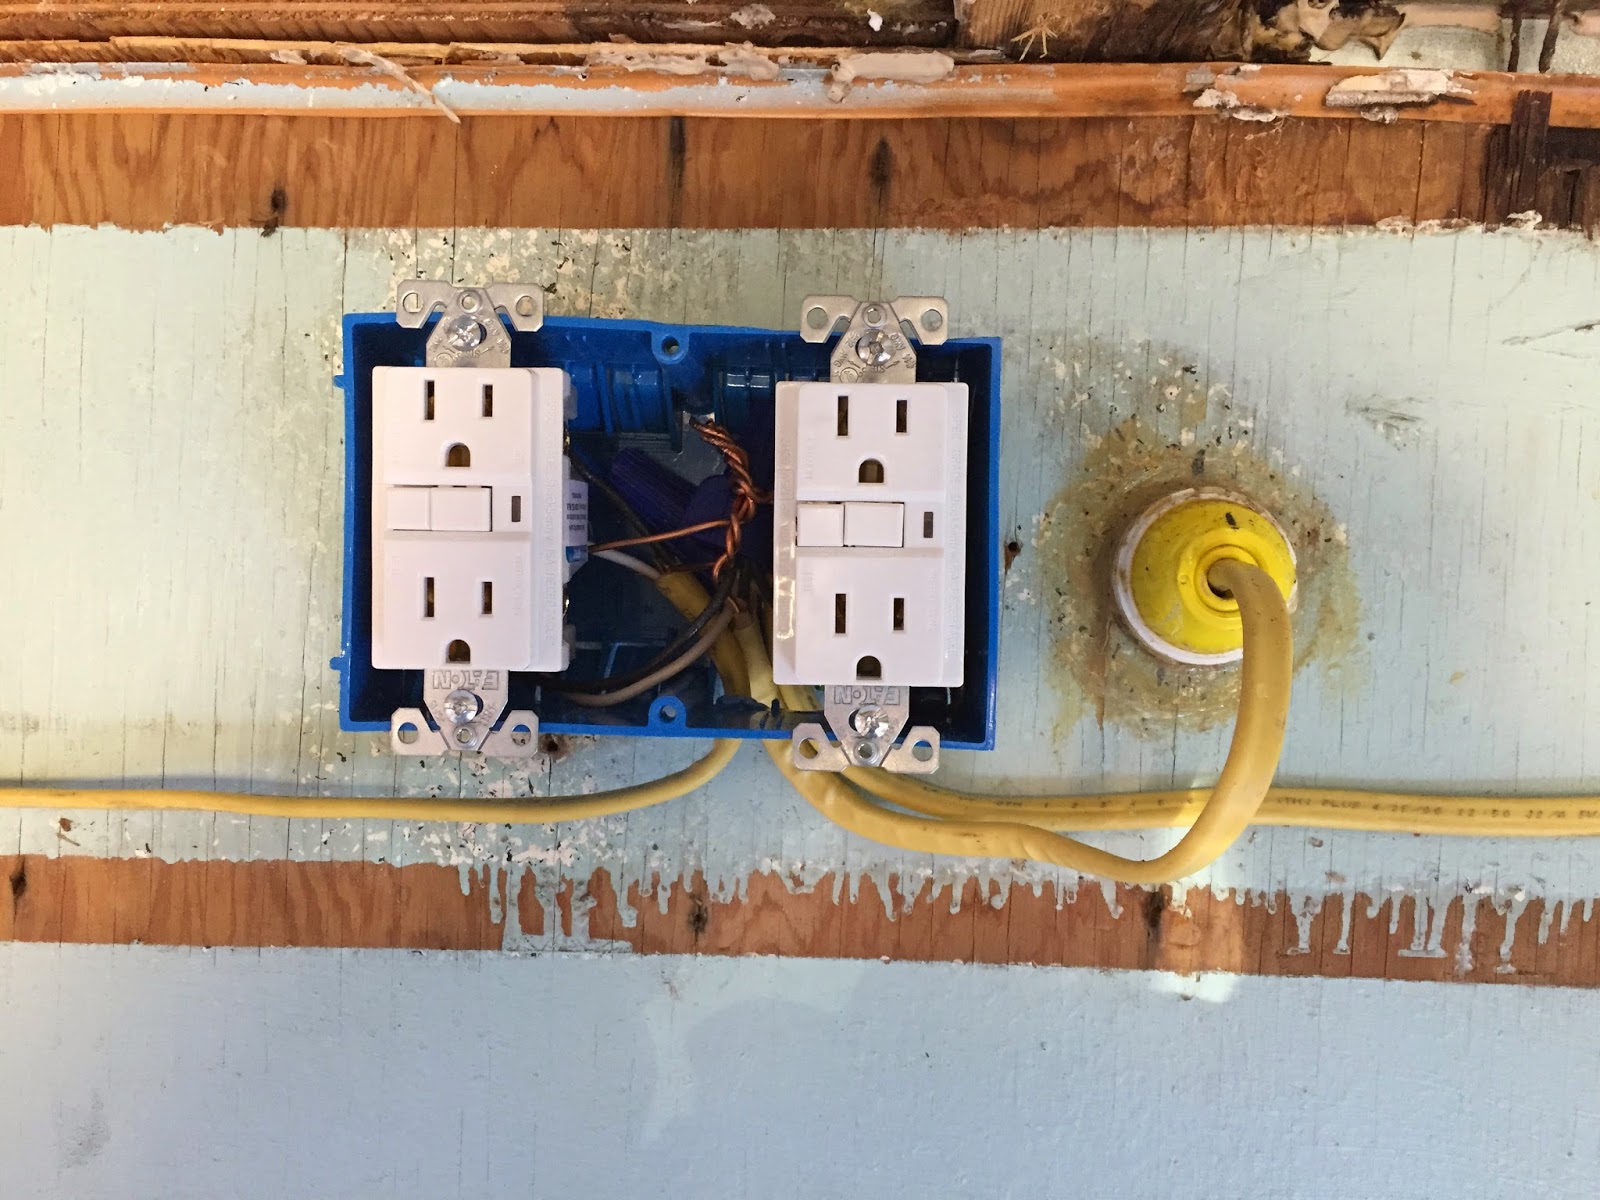
He then wired across on both sides to the front and rear.


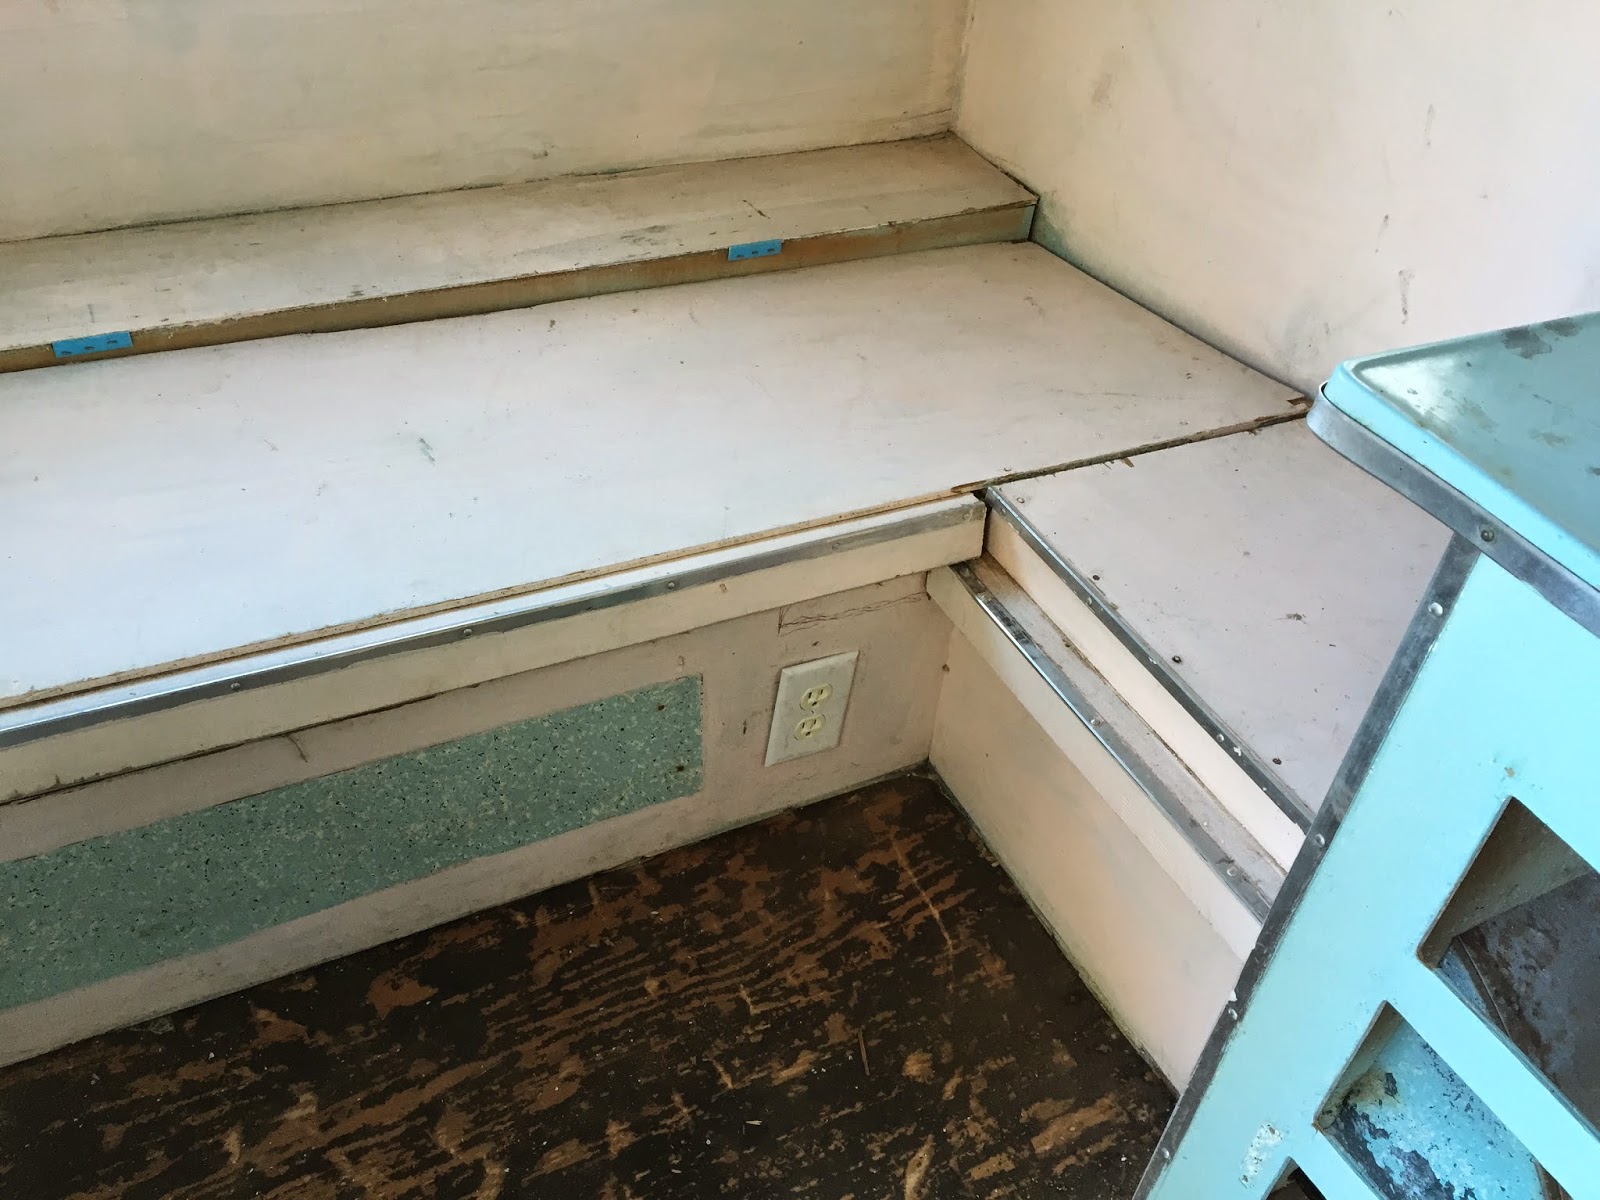
The front wiring goes into the front cabinet and there is an outlet underneath. I will add my light right next to this outlet.

The wiring to the rear comes down under the bed which is where I will add the AC.
From under the bed it moves over to the other side of the trailer to the cabinet. The previous owner had made a very crude hole here that I will have to fix. Poor Rosie!!

This is the outside inlet.

Just a normal 220 plug.

So after a hard day of doing small projects (which I didn't take pictures of) like adding a lock to the storage compartment door, hinges to the gaucho bed, replacing the dead blot (because the old key broke) and replacing the nails in my benches with screws (the benches didn't make the trip well); Miss Diana missed me and needed some Gam time. She likes sitting on my chest LOL

After Diana had an appropriate amount of Gam time I decided I would take the paint off all the hinges. I found a cool trick on Pinterest that worked amazingly. I boiled the hinges and screws in water with baking soda for 15 minuets. The paint just peeled off. I used an old toothbrush to get in the grooves but it really took no time. I love the art deco look of these hinges and so happy I was able to clean them up!!


So after a long weekend of ups and downs and beautiful yet windy weather I was beat. Time to relax!!


